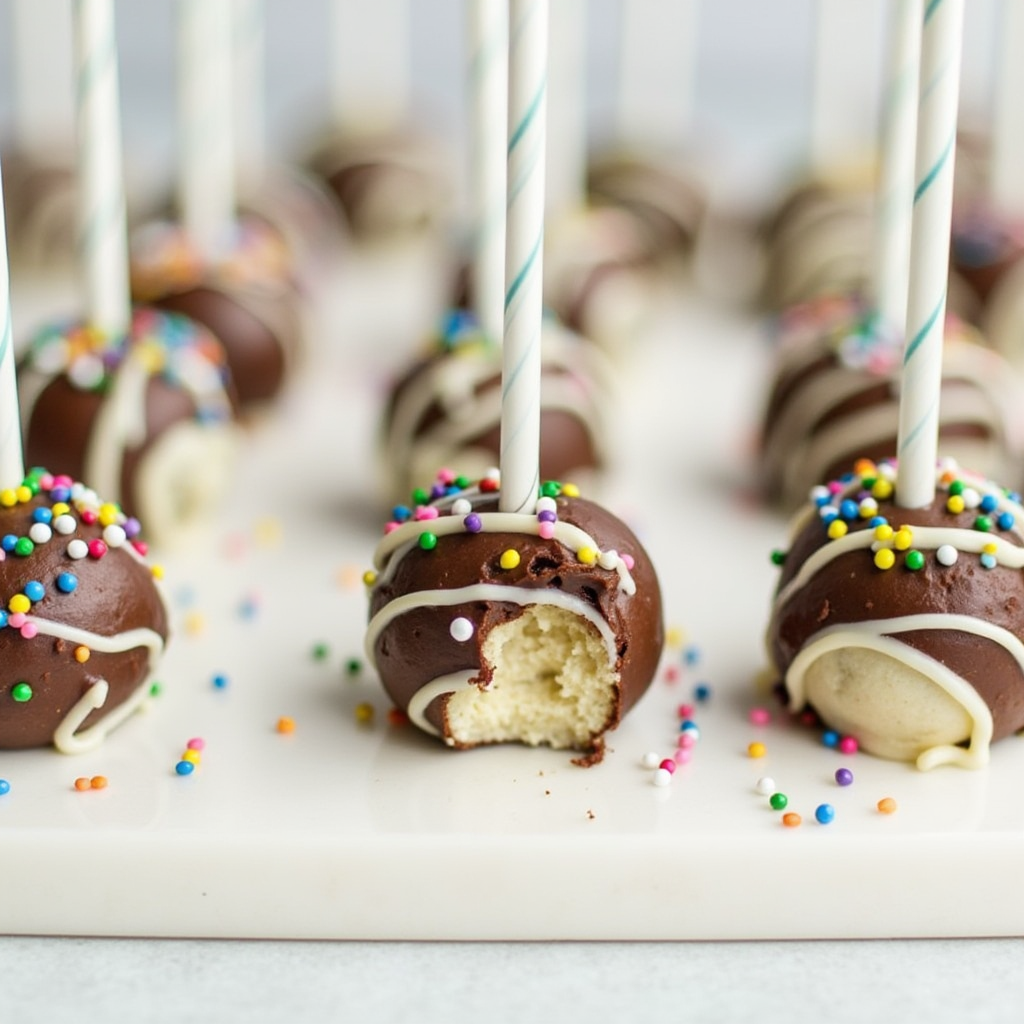
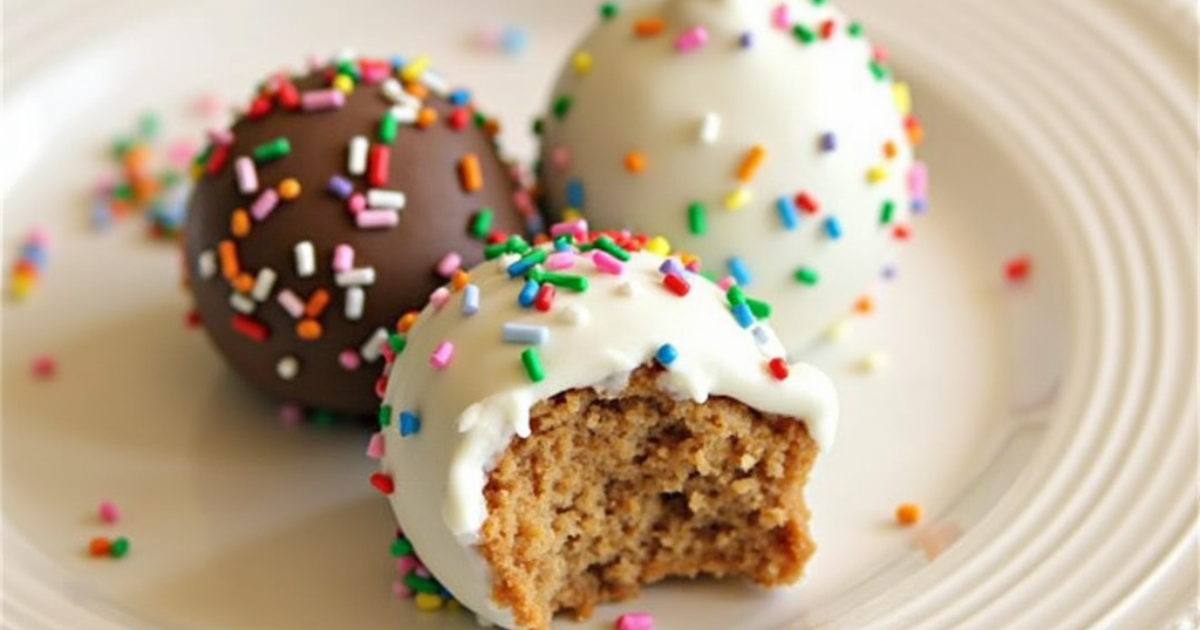
Easy Starbucks Birthday Cake Pop Recipe
Table of Contents
Who doesn’t love a Starbucks birthday cake pop? These little treats, packed with sweetness and topped with colorful sprinkles, have become a fan favorite. They offer the perfect balance of flavor, texture, and fun, making them an ideal snack for birthdays, celebrations, or even just a special indulgence. If you’ve ever thought about recreating these delightful pops at home, you’re in the right place! Making Starbucks-inspired birthday cake pops is not only easy but also incredibly rewarding. This guide will show you how to recreate this iconic dessert in your kitchen, step-by-step.
Making these cake pops at home brings a level of customization and fun that you won’t find at Starbucks. From choosing your favorite cake flavor to adding your unique decorations, you can make these cake pops as personalized as you want. Plus, it’s an affordable way to enjoy your favorite Starbucks treat without having to leave the house. In this article, we’ll walk you through the entire process, from the ingredients to the decorating tips that will make your cake pops stand out. Let’s dive in!
Why Make Starbucks Birthday Cake Pops at Home?
When it comes to celebrating, birthday cake pops have become a symbol of joy and fun. They’re a hit at any gathering, but purchasing them from Starbucks can quickly add up, especially if you’re serving a large group. That’s where making your own birthday cake pops comes in. There are several advantages to making this treat at home:
- Personalization: When you make cake pops yourself, you can personalize them to suit your tastes or the theme of your celebration. You can choose from a variety of cake flavors (chocolate, vanilla, red velvet, and more), adjust the sweetness of the frosting, and even customize the decorations.
- Cost-effective: Starbucks cake pops are delicious but expensive. By making them yourself, you can create multiple batches for a fraction of the price, making them ideal for parties, gatherings, or even as a weekly treat.
- Fun Family Activity: Making cake pops is a perfect activity to involve the whole family. Children will enjoy rolling the cake into balls and dipping them into chocolate, while adults can focus on the more detailed decorating. It’s an interactive and enjoyable experience for everyone involved.
Plus, there’s nothing quite like enjoying a treat that you’ve created yourself. Now that we’ve discussed the perks of making your own cake pops, let’s take a look at the essential ingredients and tools you’ll need.


Essential Ingredients and Tools for Cake Pops
Before you begin baking, it’s important to have all the necessary ingredients and tools at your disposal. Below is a comprehensive list of what you’ll need to recreate these delicious Starbucks-style cake pops.
Ingredients for the Cake Base
| Ingredient | Quantity |
| Vanilla Cake Mix | 1 box |
| Eggs | 3 |
| Vegetable Oil | 1/3 cup |
| Water | 1 cup |
Ingredients for the Frosting and Coating
| Ingredient | Quantity |
| Buttercream Frosting | 1 cup |
| White Chocolate Chips | 2 cups |
| Sprinkles | 1/4 cup |
Tools You’ll Need
- Mixing bowls
- Baking tray
- Parchment paper
- Cake pop sticks
- Styrofoam block or drying rack
- Microwave-safe bowl (for melting chocolate)
- Spoon or scoop for portioning the cake
Once you have all your ingredients and tools ready, you’re all set to start making your cake pops. Let’s walk through each step of the process.
Step-by-Step Starbucks Birthday Cake Pop Recipe
Step 1: Bake the Vanilla Cake
Start by preheating your oven to 350°F (175°C). In a mixing bowl, combine the vanilla cake mix, eggs, oil, and water. Stir until smooth, ensuring there are no lumps in the batter. Pour the mixture into a greased baking tray and spread it evenly. Bake for 30 minutes or until a toothpick inserted in the center comes out clean. Let the cake cool down fully before proceeding to the next step.
Step 2: Crumble and Combine
After the cake has cooled, break it apart into small crumbs using your hands or a fork. The smaller the crumbs, the smoother your cake pops will turn out. Gradually add buttercream frosting to the crumbled cake. Start with half a cup and mix thoroughly. Add more frosting as needed until the mixture holds its shape when pressed.
Step 3: Shape the Cake Balls
Scoop out portions of the mixture and roll them into balls about 1 inch in diameter. Place these on a baking tray lined with parchment paper to prevent sticking. Once all the balls are shaped, refrigerate them for at least one hour. This step is crucial to maintain their firmness during the coating process.
Step 4: Coat and Decorate
Melt the white chocolate chips in a microwave-safe bowl, heating in 15-second intervals and stirring in between to avoid burning. Take a cake pop stick and dip one end into the melted chocolate, then insert it into the center of a cake ball. This acts as a glue to keep the stick in place. Dip the entire cake ball into the melted chocolate, ensuring it’s fully coated. Before the coating hardens, sprinkle decorations on top or roll the pops in a bowl of sprinkles for an even finish. Place the coated cake pops upright in a Styrofoam block or drying rack to set.
Pro Tips for Perfect Starbucks Cake Pops
- Chill cake pops thoroughly before dipping them in chocolate. This helps maintain their shape and prevents cracks in the coating.
- Use candy melts as an alternative to white chocolate if you prefer a smoother finish or want a variety of colors.
- To create themed cake pops, use edible markers, fondant, or additional decorations for creative designs.
Frequently Asked Questions (FAQ)
How Long Do Homemade Cake Pops Last?
When stored in an airtight container in the refrigerator, cake pops remain fresh for up to five days. For longer storage, consider freezing them.
Can I Use a Different Cake Flavor?
Absolutely. Chocolate, red velvet, or lemon cakes make excellent alternatives. Feel free to explore flavors that suit your preferences or complement the occasion.
Why Are My Cake Pops Cracking?
Cracks often occur when the cake balls are too cold, and the warm coating causes expansion. Allow the cake balls to sit at room temperature for a few minutes before dipping.
Can I Make These Cake Pops Gluten-Free?
Yes! Substitute the vanilla cake mix with a gluten-free alternative, and ensure all other ingredients are gluten-free as well.
What’s the Best Way to Melt Chocolate for Cake Pops?
Use a microwave in short intervals, stirring frequently. Alternatively, a double boiler provides even heat and reduces the risk of burning.
Conclusion
Crafting these Starbucks-inspired birthday cake pops is more than just making a dessert—it’s about creating moments of joy. The satisfaction of mastering this recipe is only matched by the smiles it brings to those who enjoy them. Whether for a party centerpiece or a personal indulgence, these cake pops are sure to impress.
Are you ready to try this easy Starbucks birthday cake pop recipe? Gather your ingredients and start creating your masterpiece today. Don’t forget to share your creations and let us know how they turned out in the comments below!

