Disney Cookie Recipe: Step-by-Step Guide
Table of Contents
Have you ever taken a bite of a chocolate chip cookie and felt like it transported you straight to Disneyland? The sweet, buttery goodness that makes you smile and brings back fond memories of your favorite Disney park moments. Now, imagine being able to create that same delightful magic in your own kitchen. Thanks to this step-by-step guide, you can! In this article, we’ll walk you through Disney’s famous chocolate chip cookie recipe, allowing you to recreate the magic at home.
Why Disney’s Chocolate Chip Cookies Are So Special
Before diving into the recipe, let’s explore what makes Disney’s chocolate chip cookies so irresistible. It’s not just the quality ingredients or the perfect balance of sweetness and chewiness. There’s something undeniably magical about these cookies, a taste that seems to capture the spirit of Disney itself.
Disney’s chocolate chip cookies have earned a beloved reputation, both in the theme parks and at home. If you’ve ever walked through the gates of Disneyland or Disney World, chances are you’ve been greeted by the scent of freshly baked cookies wafting through the air. These cookies have become more than just a snack—they’re part of the Disney experience. And now, you can bring that same experience into your home with this recipe.
What You’ll Need: Ingredients for the Perfect Disney Cookie
To get started on your journey to baking Disney’s famous chocolate chip cookies, you’ll first need to gather a few key ingredients. Don’t worry—nothing too complicated! Here’s a breakdown of what you’ll need.

Table: Ingredients for Disney’s Chocolate Chip Cookies
| Ingredient | Amount | Notes |
| All-purpose flour | 2 ½ cups | Provides the base for a soft, chewy cookie |
| Baking soda | 1 teaspoon | Helps the cookies rise to perfection |
| Salt | 1 teaspoon | Balances the sweetness |
| Unsalted butter | 1 cup (2 sticks) | At room temperature for optimal mixing |
| Brown sugar | 1 cup | For depth of flavor and moisture |
| Granulated sugar | ¾ cup | Adds the perfect sweetness |
| Large eggs | 2 | Essential for binding the dough |
| Vanilla extract | 2 teaspoons | For a rich, aromatic flavor |
| Semi-sweet chocolate chips | 2 cups | The heart of the cookie – go for high-quality chocolate |
| Optional: Chopped nuts (e.g., walnuts or pecans) | 1 cup | If you like a crunchy texture in your cookies |
With all your ingredients ready, you’re prepared to create these unforgettable cookies!
Step-by-Step Guide to Making Disney’s Chocolate Chip Cookies
Now comes the fun part—the baking! Follow these easy steps to create your own Disney-inspired chocolate chip cookies. By the end, you’ll have warm, gooey cookies that are ready to impress.
Step 1: Preparing the Dough
Start by preparing your dough. The key to a soft, chewy texture is in the mixing process. Here’s what you need to do:
- In a large mixing bowl, cream together the softened unsalted butter, brown sugar, and granulated sugar until the mixture is light and fluffy.
- Use a hand mixer or stand mixer to beat the ingredients together on medium speed for about 3-4 minutes until the mixture is light and fluffy.
- Add the eggs, one at a time, mixing well after each addition. Then, add the vanilla extract and continue mixing until everything is well combined.
- In a separate bowl, combine the all-purpose flour, baking soda, and salt. Gradually incorporate the dry ingredients into the wet mixture, mixing on low speed until just blended. Be sure not to overmix—this ensures your cookies stay soft and tender.
Step 2: Mixing in the Chocolate Chips
Once your dough is ready, it’s time to add the star of the show—chocolate chips!
- Gently fold the semi-sweet chocolate chips (and optional nuts, if you’re using them) into the dough using a spatula. Take care not to overmix to avoid breaking the chips.
- At this point, you can also chill the dough for 30 minutes to an hour for thicker cookies. Chilling the dough helps the cookies hold their shape during baking.
Step 3: Shaping and Baking the Cookies
Now that your dough is ready, it’s time to shape your cookies and get them into the oven.
- Warm up your oven to 350°F (175°C) and prepare a baking sheet by covering it with parchment paper. Take a cookie scoop or tablespoon to divide the dough into evenly sized, rounded portions.
- Using a cookie scoop or a tablespoon, portion the dough into rounded balls. Space each ball about 2 inches apart to allow for spreading as they bake.
- Bake the cookies for 10-12 minutes, or until the edges are golden brown, but the centers are still soft. Keep a close eye on them to avoid overbaking.
- When the cookies are finished baking, let them rest on the baking sheet for 5 minutes. Afterward, move them to a wire rack to cool down fully.
Tips for Making the Perfect Disney Cookie Every Time
To help you bake cookies that live up to the Disney standard, here are some pro tips for perfect results every time.
Measure Your Ingredients Carefully
Baking is an exact science, so it’s essential to measure your ingredients accurately. Use a kitchen scale for the best results, or if you’re using measuring cups, be sure to spoon the flour into the cup and level it off with a knife.
Don’t Overmix the Dough
When it comes to cookie dough, less is more. Overmixing can lead to tough cookies. Mix just until the ingredients are incorporated, and you’ll be rewarded with soft, chewy cookies.
Chill the Dough for Thicker Cookies
If you like thicker cookies with a little more bite, don’t skip the chilling step. Placing the dough in the fridge for 30 minutes allows the flour to absorb the wet ingredients, which helps the cookies maintain their shape as they bake.
Use High-Quality Chocolate Chips
Since chocolate is the star ingredient in these cookies, it’s worth investing in high-quality chocolate chips. Disney’s cookies use semi-sweet chocolate chips for a balanced flavor, but you can experiment with milk or dark chocolate if you prefer.
Troubleshooting Common Cookie Issues
Even the most experienced bakers can run into a few problems now and then. Here’s how to troubleshoot common cookie issues you might encounter.
Cookies Are Spreading Too Much
If your cookies spread too much while baking, it could be due to overly soft dough or too much butter. To solve this, chill the dough for at least 30 minutes before baking, and make sure your butter is softened, not melted.
Cookies Are Too Hard
Overbaking or using an excess of flour can lead to cookies becoming too hard. Always check your cookies a minute or two before the recommended baking time to ensure they’re soft in the center. If your dough feels too dry, try adding a bit more butter.
Cookies Aren’t Chewy Enough
For extra chewiness, increase the amount of brown sugar and make sure your butter is at room temperature. Avoid overbaking and remove the cookies from the oven as soon as the edges turn golden.
Storing and Serving Your Disney Chocolate Chip Cookies
After baking, you’ll want to enjoy these cookies while they’re fresh. Here’s how to store and serve them to maintain their deliciousness.
Storing Your Cookies
To maintain the freshness of your cookies, keep them in an airtight container at room temperature. They will stay soft and chewy for about a week. If you need to store them longer, freeze the cookies, and they’ll stay good for up to three months. Simply place the cookies in a single layer on a baking sheet to freeze, then transfer them to a freezer bag.
Freezing Cookie Dough
If you want to bake the cookies at a later date, you can freeze the dough. Shape the dough into small balls and arrange them on a baking sheet. Freeze them for 1-2 hours, then transfer them to a freezer-safe bag. When you’re ready to bake, simply place the frozen dough balls on a baking sheet and bake as usual (you may need to add a couple of extra minutes to the baking time).
Reheating Cookies
To bring back that fresh-from-the-oven taste, microwave cookies for 10-15 seconds. Alternatively, you can reheat them in the oven at 300°F for 5-7 minutes to get them soft and warm.
Conclusion: Bringing Disney Magic to Your Kitchen
Now that you know how to make Disney’s famous chocolate chip cookies, it’s time to bring a little magic into your home. With just a few simple ingredients and easy steps, you can create cookies that taste just like the ones served at Disney theme parks. Whether you’re baking for a special occasion, a family gathering, or just because, these cookies are sure to delight everyone who takes a bite.
Ready to create some magic? Gather your ingredients, preheat the oven, and let the baking begin!
Frequently Asked Questions (FAQ)
Q: Can I make the Disney cookie recipe ahead of time?
A: Absolutely! You can prepare the dough in advance and store it in the refrigerator for up to 72 hours. The dough can also be frozen for future baking.
Q: What is the secret to Disney’s perfect cookie texture?
A: The combination of brown sugar, chilled dough, and baking at the right temperature results in chewy, gooey cookies that stay soft and delicious.
Q: Is it possible to use other varieties of chocolate in this recipe?
A: Yes! While semi-sweet chocolate chips are the traditional choice, you can use milk chocolate, dark chocolate, or even a mix of different types for a custom flavor.
Q: How do I make these cookies more festive?
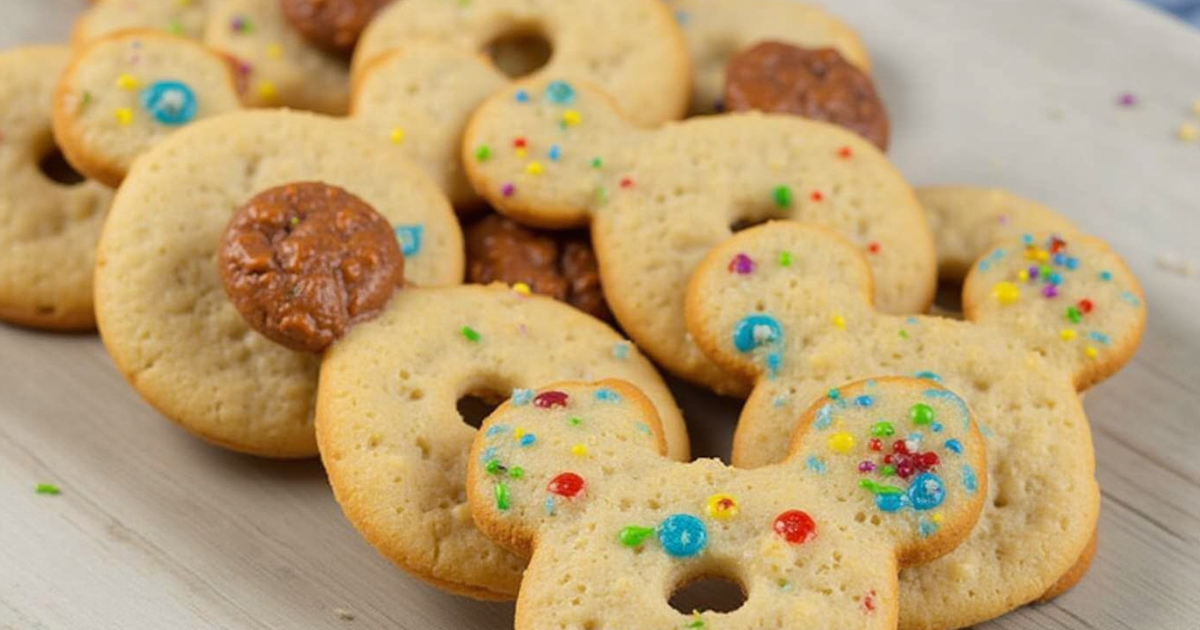
A: Add sprinkles for a fun, colorful touch or try mixing in festive ingredients like peppermint extract or holiday-themed chocolate chips for a seasonal twist.

